Ironing board cover
I have been needing a new ironing board cover ever since I bought my ironing board. I thought I would share these simple steps I used to make my own. It took me about an hour to do the whole thing.

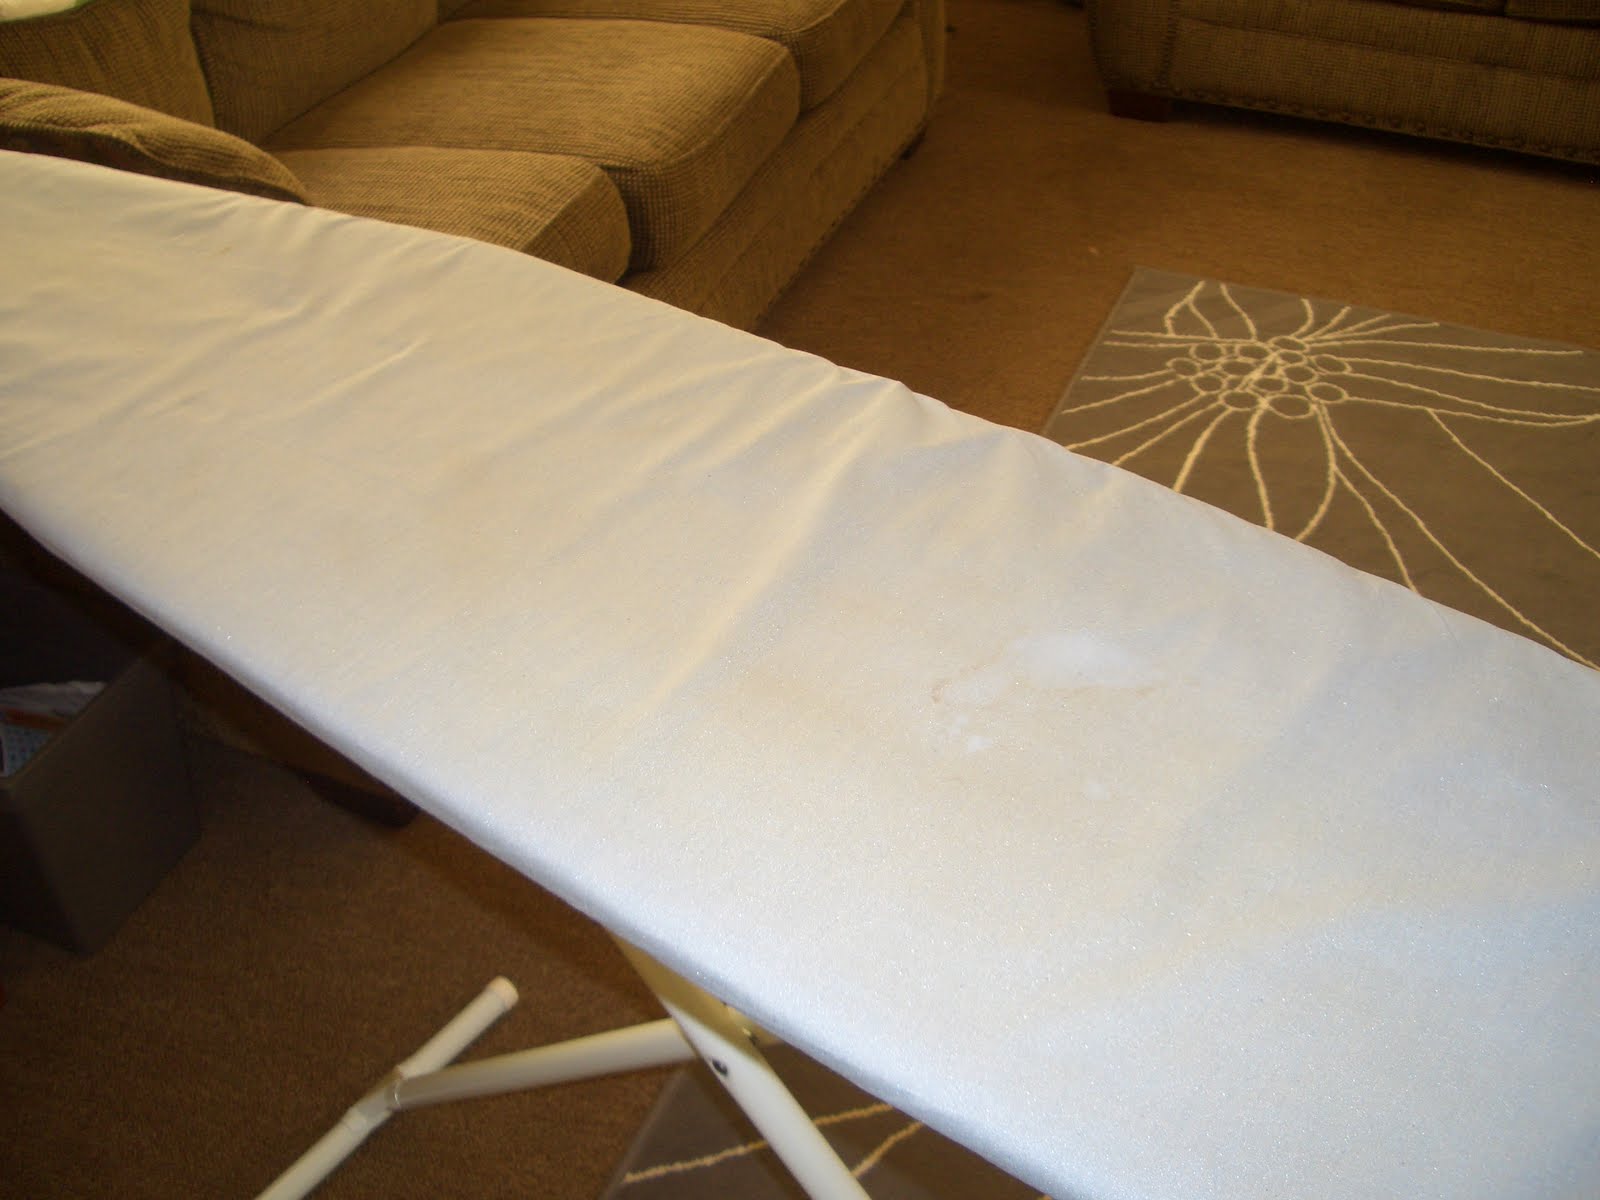
This is what it looked like before... It had stains and just wasn't very cute.
First, I cut the string that attached the old cover to the ironing board.

Next, I traced the old cover (plus 1 in.) onto my new fabric and cut it out.

For the casing, I folded under and ironed 1/4 in. around the edge of the cover,
and then ironed 3/4 in. under.

I attached the foam to the ironing board using a little spray adhesive. This is optional, you could even get some new batting and sew it to your new cover.

I found some cotton yarn in the stash and attached it to a safety pin so I could feed it through the casing.

Lastly, I cinched it tight and tied a bow and ta da...

...new cover!!!

Bye bye old cover!

If you choose to make a new cover have fun with it! You could choose a big, bright print or a smaller, neutral one like I did. Much more fun to create your own cover rather than having to pick one out at the store.
xo


Comments